Candle and soap making are creative and rewarding hobbies that allow you to craft personalized products right in the comfort of your own home. Whether you're looking to make unique gifts, add a personal touch to your home décor, or start a small business, making candles and soaps can be a fun and fulfilling process. With the right materials and techniques, anyone can create beautiful, handcrafted items. This guide will walk you through the essentials of getting started with candle and soap making, ensuring you have all the tips and tools needed to succeed.
Essential Supplies for Candle and Soap Making
To start your candle and soap making journey, it's important to gather the right materials. For candle making, you'll need wax (soy, beeswax, or paraffin), wick, fragrance oils, dyes, and a heat source for melting. Many crafters recommend using a double boiler to safely melt the wax. You'll also need containers like glass jars or metal tins to pour the wax into and set the wick properly. For soap making, the two most common methods are cold process and melt-and-pour. The melt-and-pour method is beginner-friendly and involves buying pre-made soap base that you melt and add your ingredients to. For both methods, essential oils, colorants, and molds will help you customize your creations.

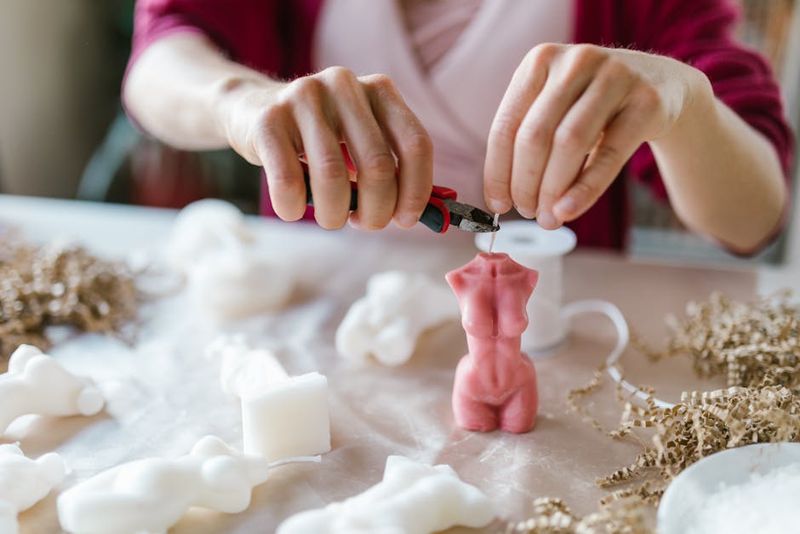
Step-by-Step Candle Making
Once you have your supplies, it’s time to start crafting your candles. Begin by melting your wax, making sure to monitor the temperature to avoid overheating. While the wax is melting, prepare your container by securing the wick to the bottom with a bit of melted wax or wick stickers. Once the wax has reached the desired temperature, add your fragrance oils and dyes, stirring gently to ensure even distribution. Carefully pour the wax into the container, leaving a little space at the top. Allow the candle to cool and harden, which can take several hours. Trim the wick to about 1/4 inch above the surface before lighting your candle. The process is simple, yet the results can be stunning and aromatic.
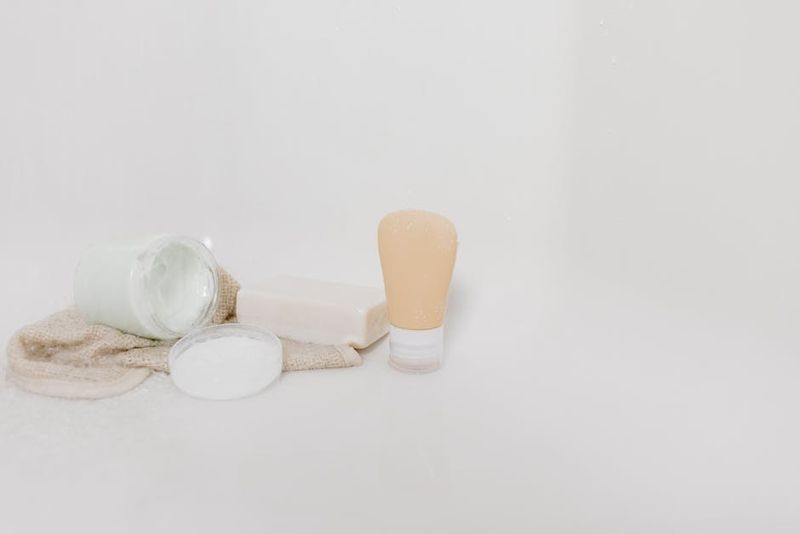
Step-by-Step Soap Making
Soap making is just as enjoyable, but it requires a bit more attention to detail. For melt-and-pour soap, begin by cutting your soap base into small chunks and melting it in the microwave or over a double boiler. Once melted, you can add your fragrance oils, colorants, and any extras like dried flowers, herbs, or exfoliants. Stir the mixture well before pouring it into your soap molds. Allow the soap to set for several hours or overnight. If you’re opting for cold process soap, be aware that it involves handling lye, which requires extra safety precautions. After mixing the lye with water and oils, pour it into molds and let it cure for 4-6 weeks. Regardless of the method, making your own soap allows for endless customization and a sense of accomplishment when you see your finished products.
AI-Assisted Content Disclaimer
This article was created with AI assistance and reviewed by a human for accuracy and clarity.